
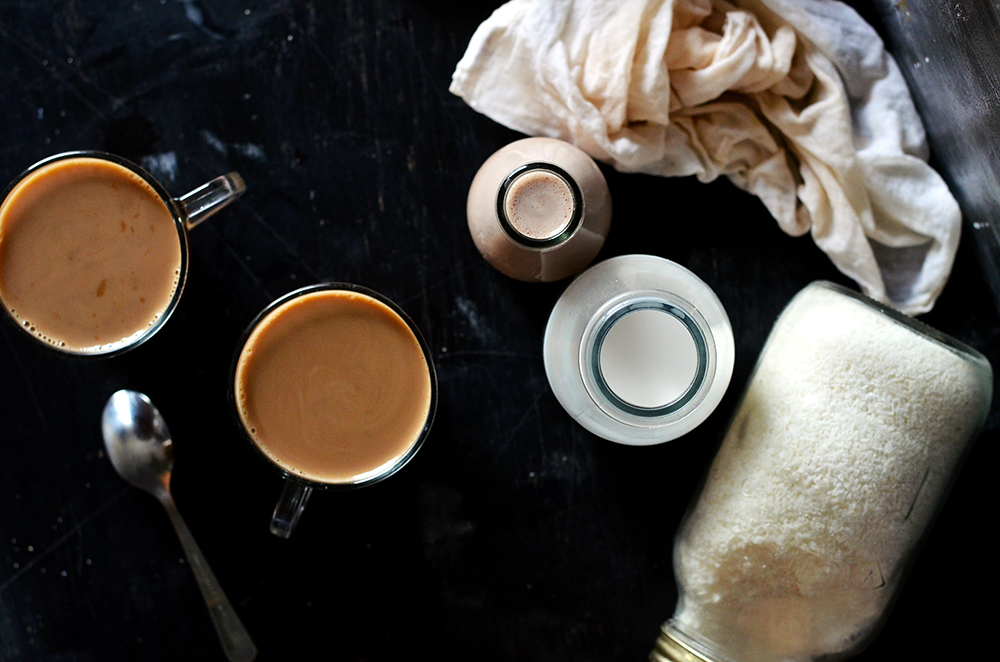
Homemade Coconut Milk (& Package free living)
I’m so pleased to see a true awareness of plastic waste immerging and more importantly, peoples actions towards being more eco friendly and reducing the amount of unnecessary plastics there are using. Along with many other, I’m slowly taking steps towards a zero waste kitchen. Changes are being made to The Hungry Herbivores kitchen little by little. Just one of those are making my own non-dairy milks! Doing this reduces the amount of packaging used in the process of getting your plant based milk into your fridge. Perfect.
Why does making your own milk reduce waste? Zero waste living doesn’t stop at removing plastic from your life, it also includes using “disposable” items, aka: milk cartons! Making your pantry staples give you the power to cut out the packaging. It is possible to buy many pantry ingredients without packaging. Luckily with the growing demand of plastic-free shopping, there has been an increase in “re-fills”. If you have the option, always bring your own jars or bags and re-stock your pantry with re-fills. The added to bonus to this is that it’s usually cheaper! On that note, making your own non-dairy milks will save you a good amount of money in the long run! Alternatively, you could bulk buy, which will reduce the amount of waste you produce in comparison to buying individual packets.
By cutting out the middle man and making your own will cut down your carbon footprint too! The energy used to create the packaging you are ultimately going to through away anyway. I feel it is important to make a stand against industries use of plastic, as it shows that people want change and wont buy into material that isn’t eco-friendly. Maybe you’re thinking on an individual level this wont work? That’s what people thought about Veganism… look at it now.
It’s also important to have a balance. By all means make the changes you feel comfortable with, as every little helps. But that doesn’t mean because you’ve decided to make your own nut milks or package free skin care, that you can never by the branded stuff again! Buy what you want to – otherwise you will start resenting your decisions. For example, I’m a big fan of Oatly, so i’m 100% going to treat myself to Oatly barista now and then! Just try and make your decisions with ethics in mind.
You may notice that you are left with coconut pulp in your muslin once you’ve strained out your milk, same as per nut milks too. Don’t throw it away – you’re trying to live waste free remember! With this pulp, I made some super simple cookies and am working on a recipe with coconut pulp, but there are so many other options out there if cookies aren’t your thing. You could dehydrate (or bake on the lowest setting of your oven) to create coconut flour, make super simple coconut crackers or even create a face scrub! Options are endless. But do keep your eyes peeled for The Hungry Herbivores best How To with your coconut or nut pulp!
If you find yourself falling in love with making your own milks (it does happen), why not try out these Rainbow Superfood Nut Milks. They’re fun and vibrant, but also SUPER food for you. Alternatively, mix it up and make cacao milk with your coconut milk! For now though, get milkin’ your coconuts!
- 2 cups desiccated coconut
- 4 cups cold filtered water
- pinch of salt
- 1 tsp vanilla extract (optional)
- 2 tbsp cacao powder
- 2 tsp agave syrup
- Put all of the ingredients into a blender and whizz on the highest speed for about a minute or two.
- Place a muslin/cheesecloth over a large bowl or jug and pour the milk into the muslin.
- Squeeze the liquid through the muslin, try and get as much milk out as possible as this removes the moisture from the pulp.
- Remove the muslin and pulp. Set the pulp aside for another use or recipe!
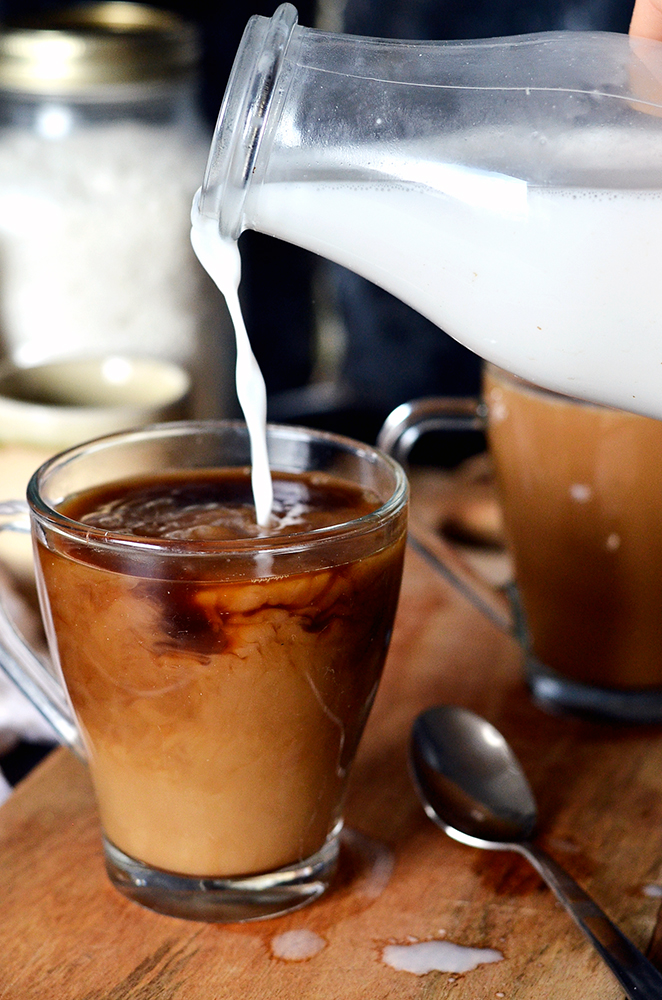
- (If you are making the cacao milk - place the milk back in the blender and quickly whizz up with the cacao and agave)
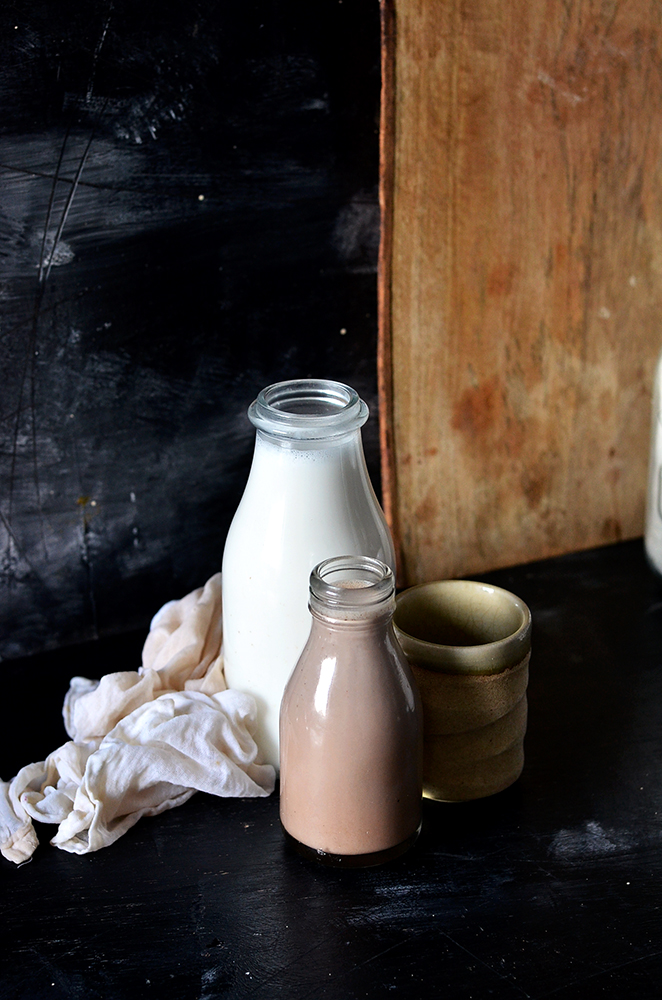
- Transfer your milk into a sanitized glass bottle and store in the fridge for up to a week!