
How to: Roll Sushi
Lets just start with saying, we are not sushi experts. Yeh, we make it up as we go along, but it looks good, it all tastes good plus it’s all totally vegan and nutritious! In fact, check out how good the central sushi ingredient, seaweed, is for you and your health on our guide to seaweed.
Today we shall give you the non-sushi chefs breakdown on cooking brown sushi rice and rolling as if you were a pro. You don’t have to be trained in a Japanese kitchen to try out some incredible looking sush.
Try out your sushi skills – it could take a while to crack it, just remember, practice makes perfect (we’re not really there yet either)
[df_tabs el_class=”” heading_align=”center” type_tabs=”default”][df_tabs_item header=”Brown Sushi Rice”]
We try and use nutritious ingredients in our recipes, which is why we often use brown sushi rice. As i’m sure you know, brown, wholegrain rice is more nutrition rich, maintaining extra vitamins and fibre. We used Clearspring Organic Brown Sushi Rice .
If you want to know how we made it..
- 1 Cup brown sushi rice
- 2 tbsp sushi vinegar
- Rinse the brown rice thoroughly a few time and place into a saucepan
- Fill up the sauce pan 1:3 ratio of rice to water - making sure there is about an inch of water above the rice. Let soak for an hour
- After soaking, turn on the heat to med-high until the water starts to boil. Then cover and leave to simmer for about 30 mins, or until all the water has gone.
- Take off the heat and keep covered for about 15mins
- Fluff the rice with a fork and add the sushi vinegar
[/df_tabs_item][df_tabs_item header=”Skinny”]First up is the simple skinny rolls.
Now your sushi rice is ready, have a bowl of water beside you, a sushi mat, nori sheets, whatever fillings you desire and a sharp knife.
Step 1: Wet your hand and place a ball of rice onto one side of the nori and use your hand to spread over one strip. Spread your fillings in the middle of the rice. Here is where I always get greedy and over fill..
Step 2: Roll up the sushi & mat with your thumbs and use your fingers to press in the filling. Roll to make a circle and press inwards to make it tight and firm.
Step 3: Unroll just the mat and use your hands to roll the rest of the seaweed, wetting the end of the nori to help it stick.
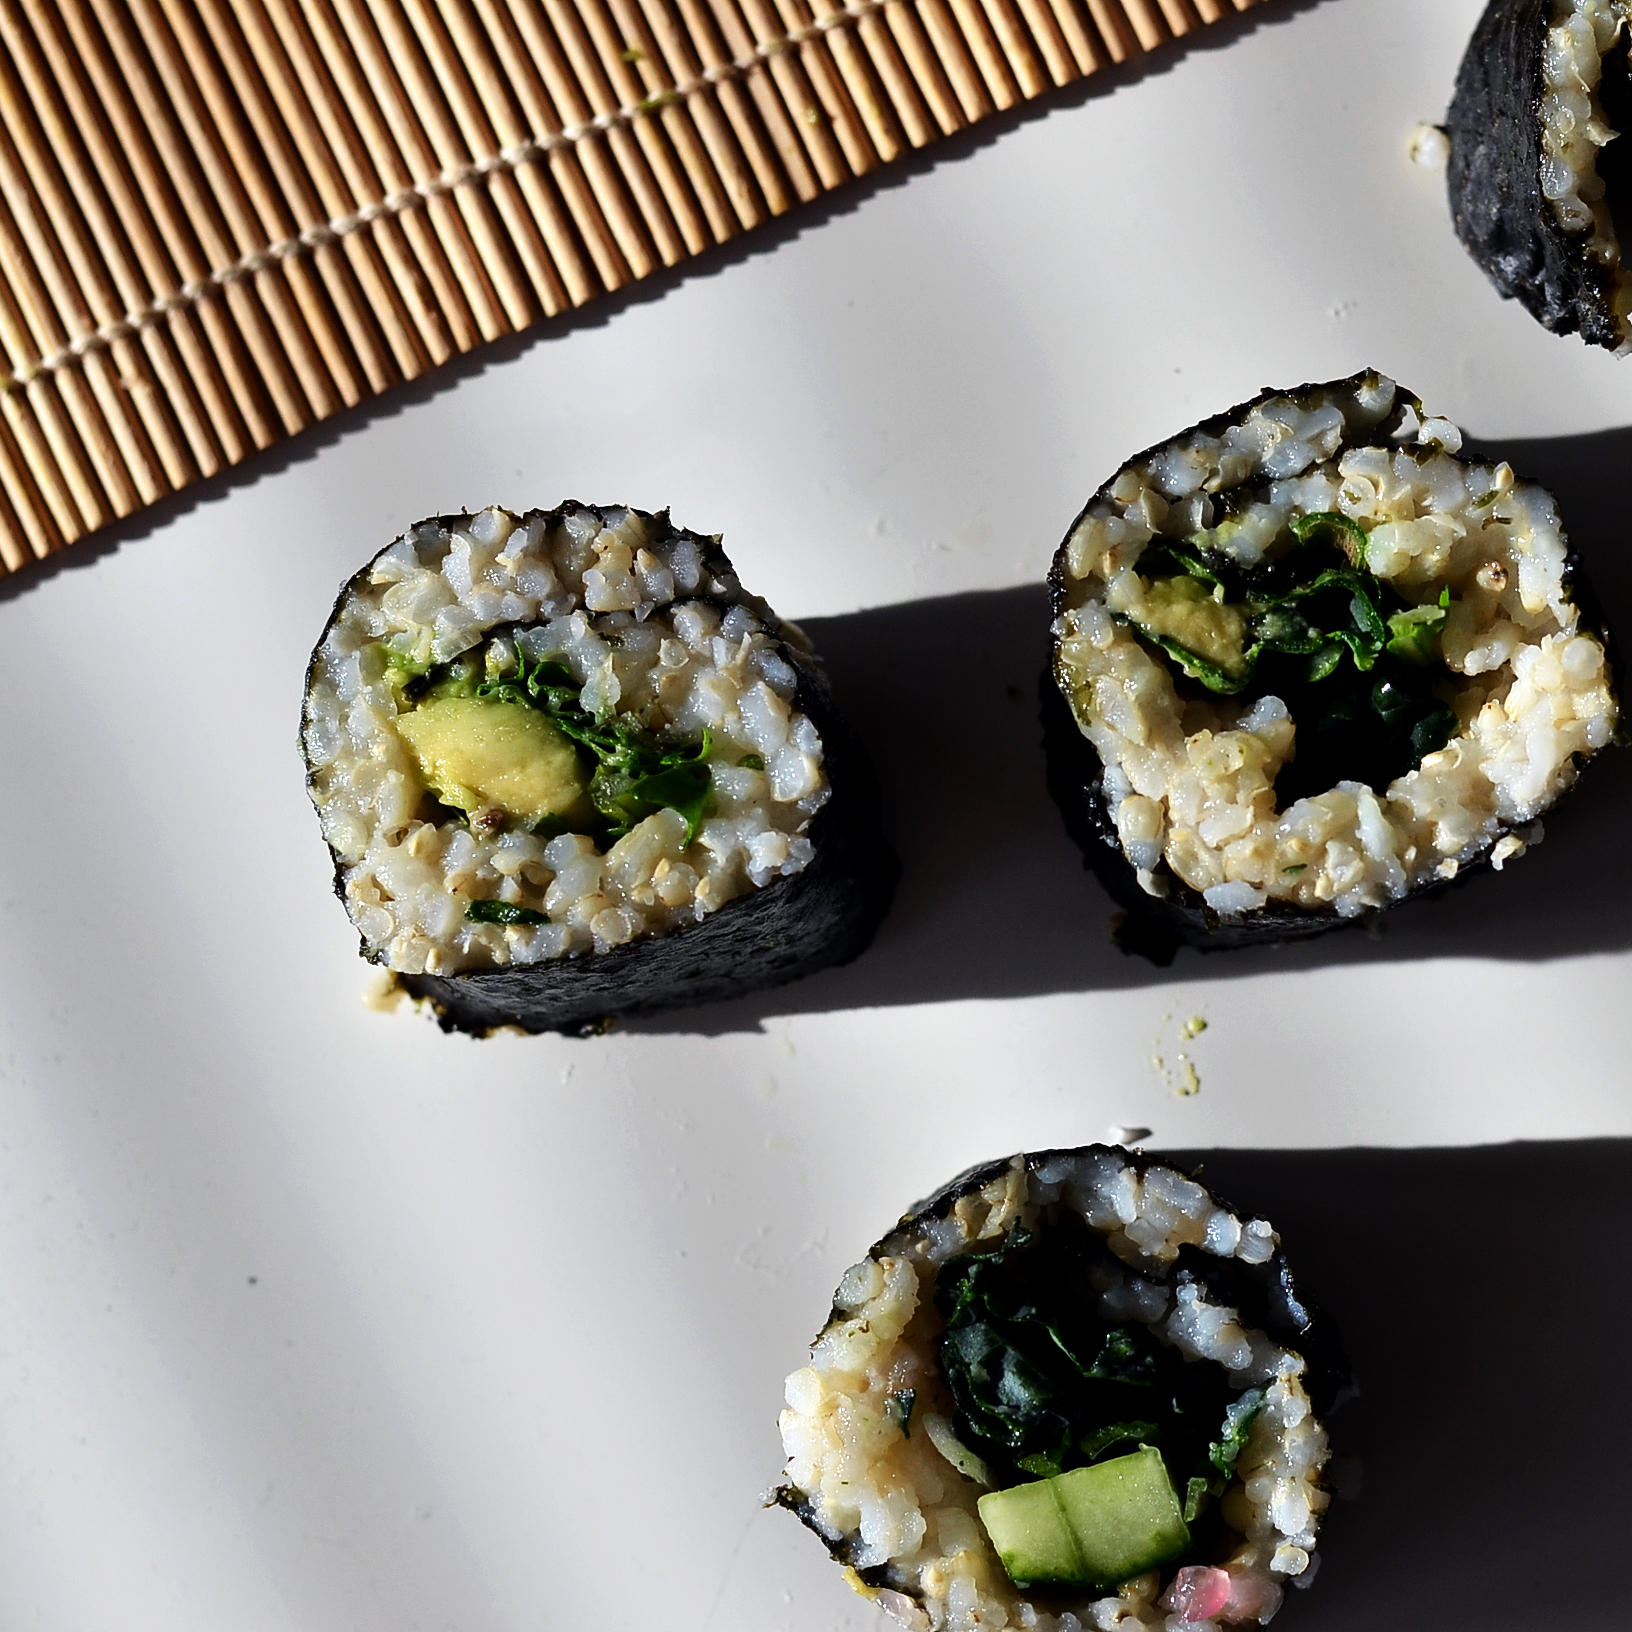
Step 4: Dip your knife into hot water and slice the sushi into bite size slices, cleaning and wetting each cut
[/df_tabs_item][df_tabs_item header=”Loop-the-loop”] Sushi roll number two. Personally, I think this is the easiest; so beginners over here!
Again you need your sushi rice is ready, have a bowl of water beside you, a sushi mat, nori sheets, whatever fillings you desire and a sharp knife.
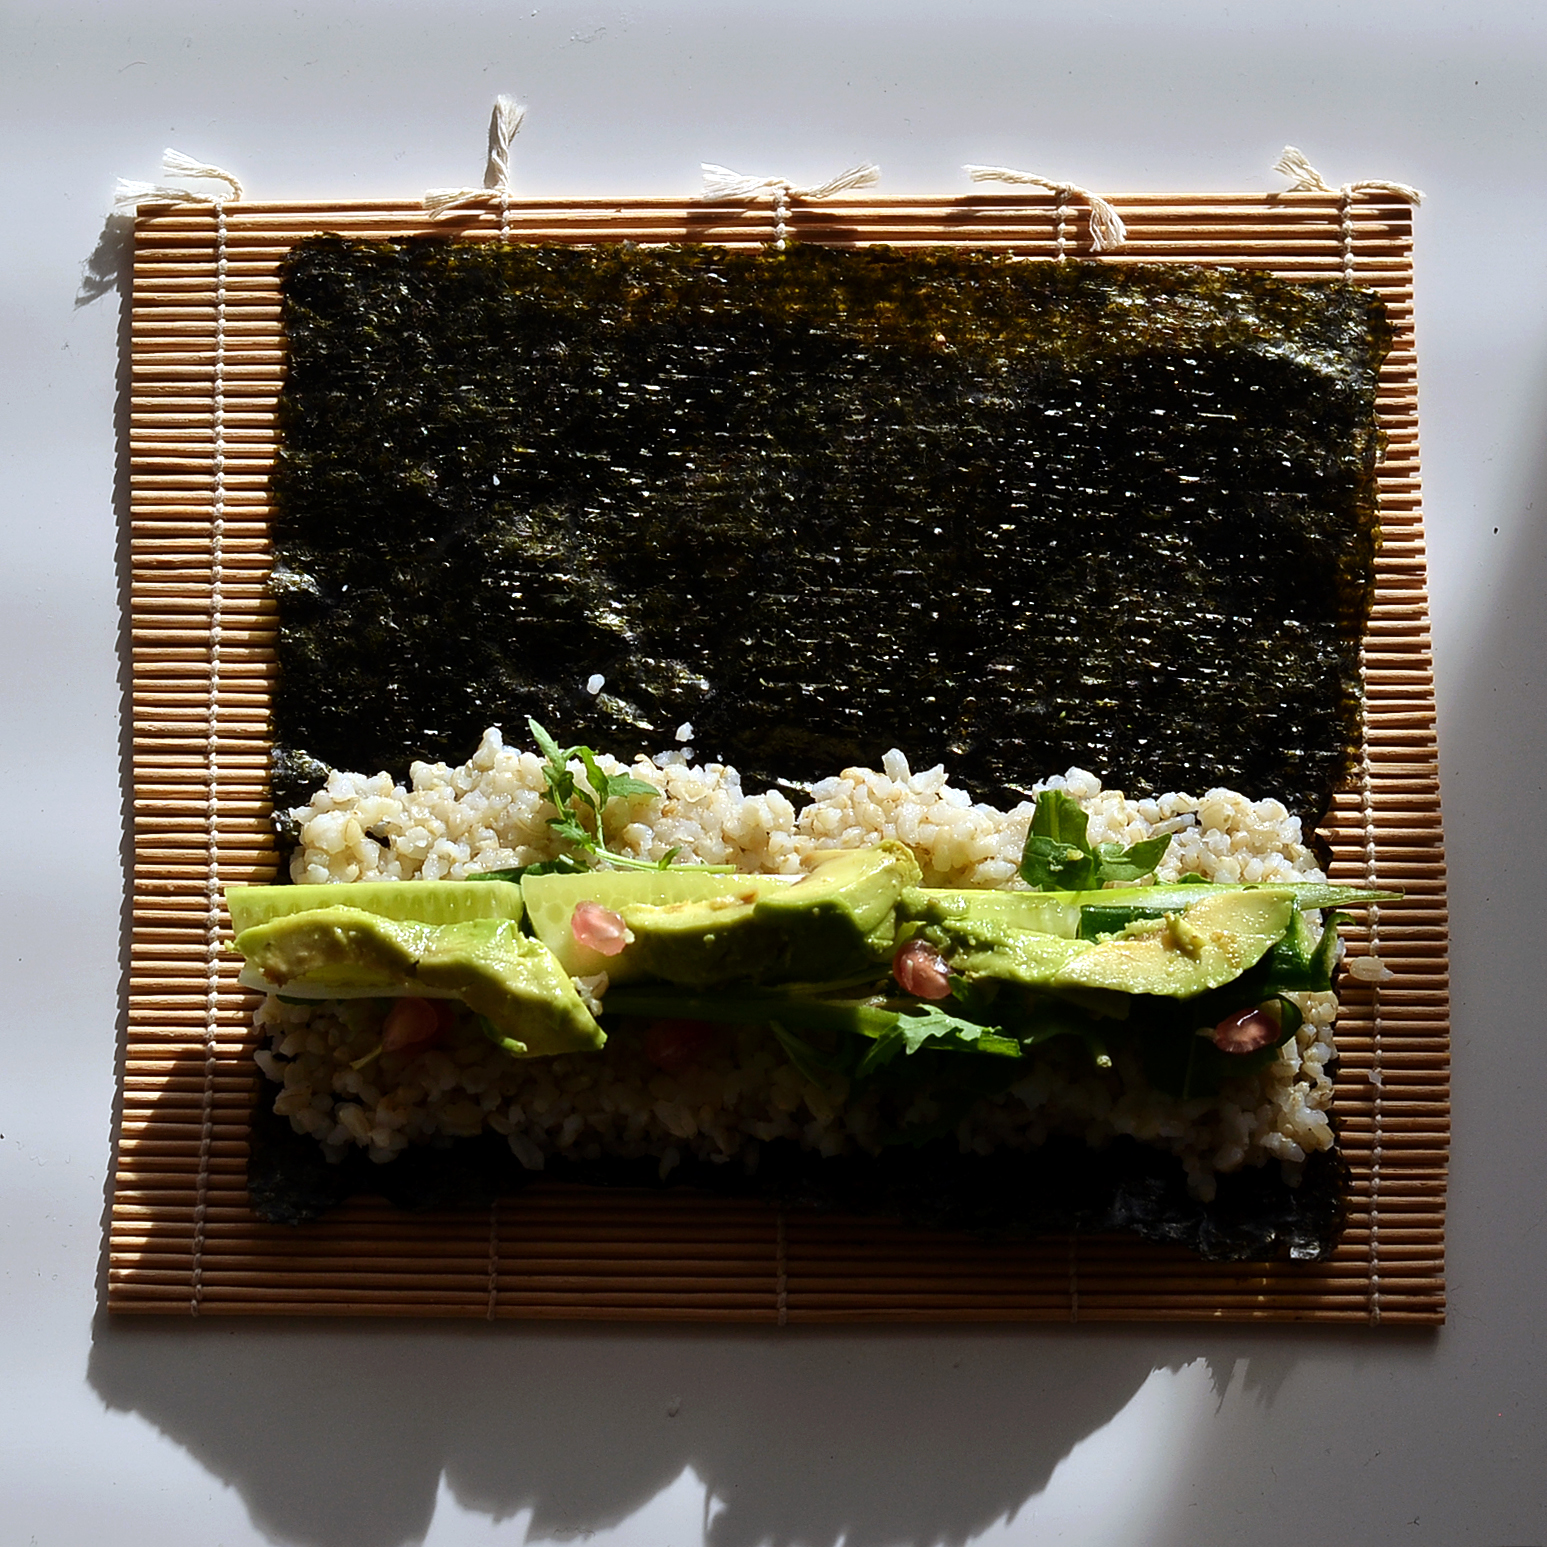
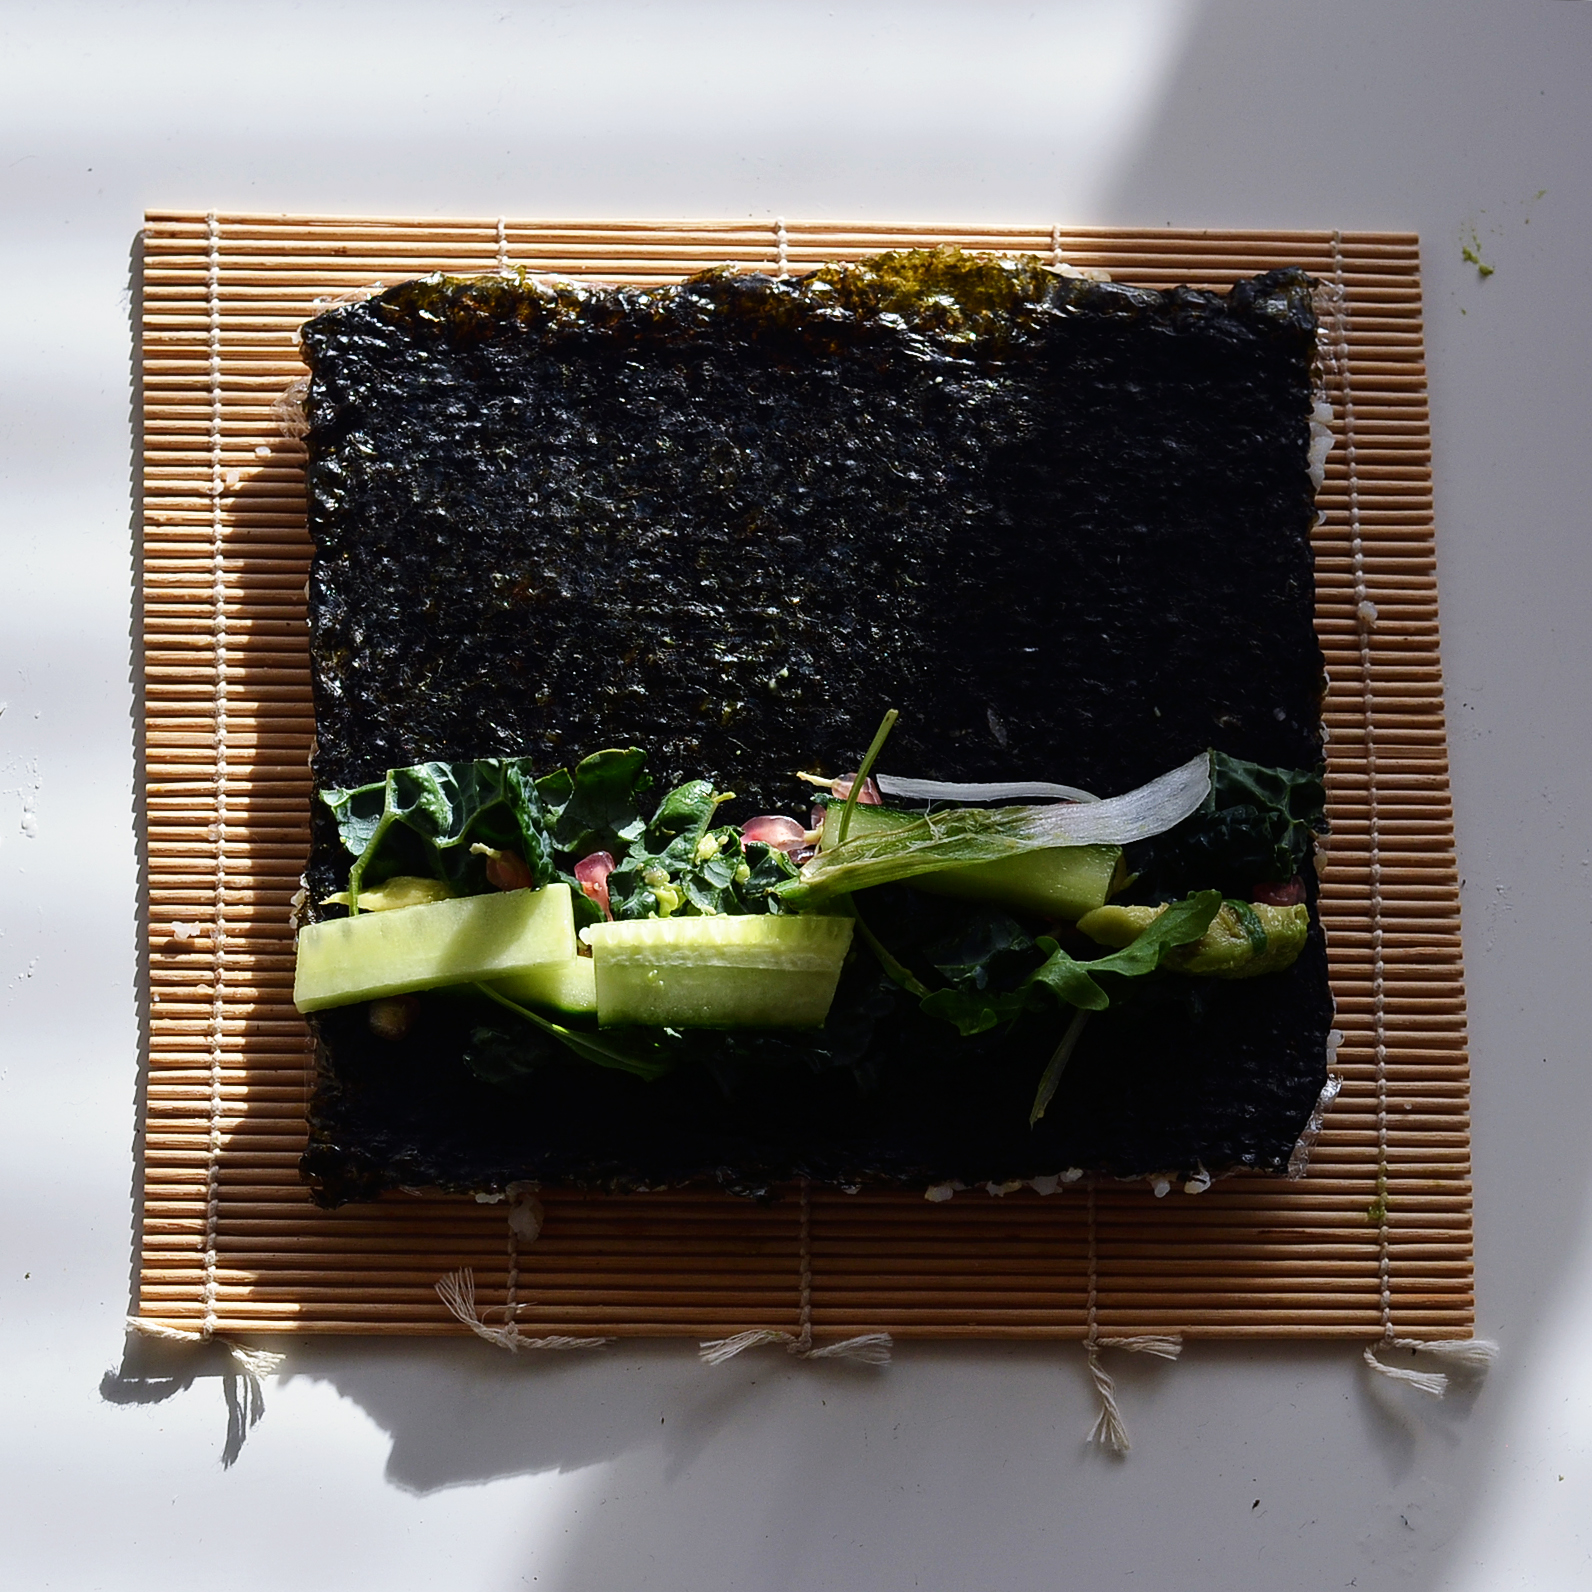
Step 1: Wet your hand and spread the sushi rice upon the whole of the nori, leaving a little bit at the edges showing. Place your fillings an inch from the bottom. 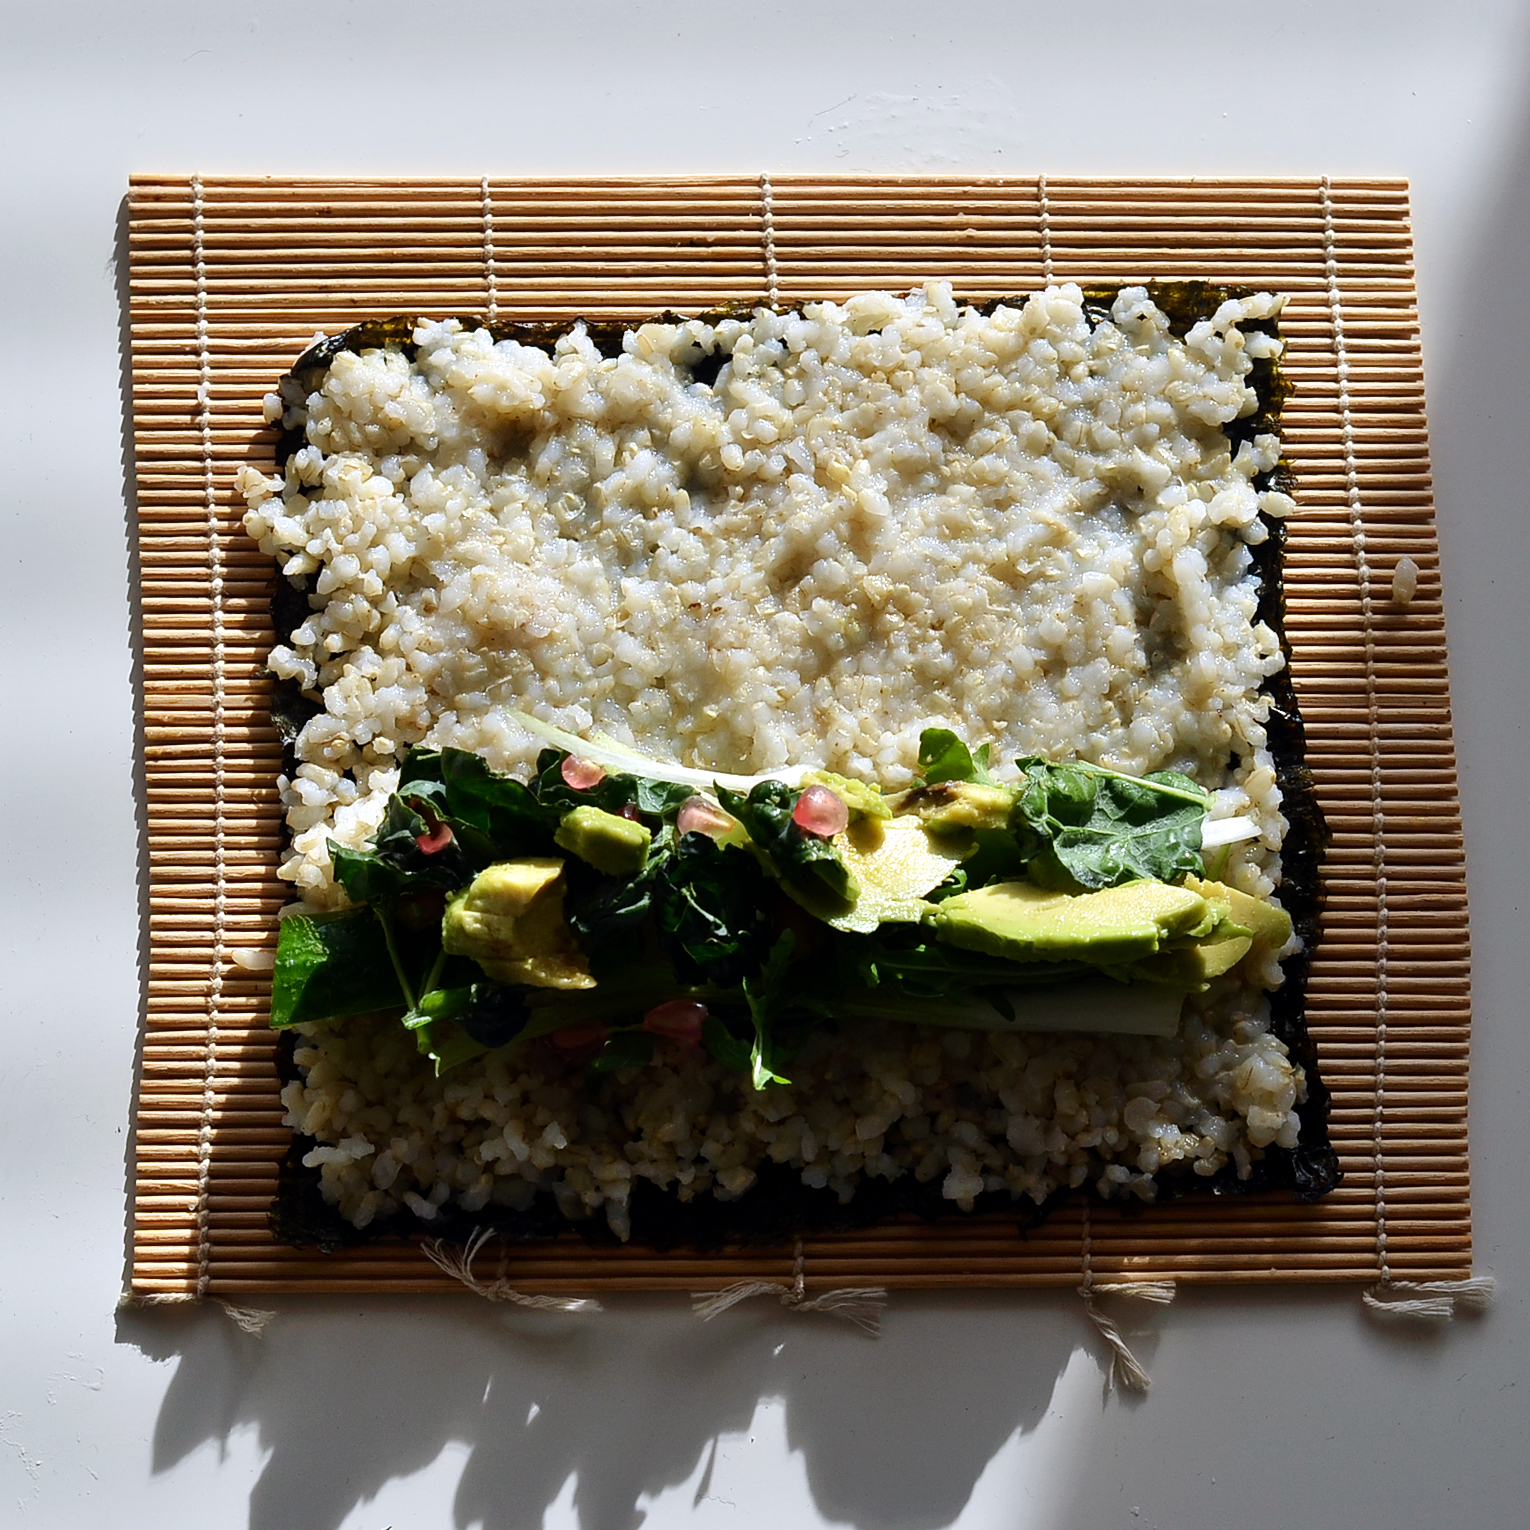
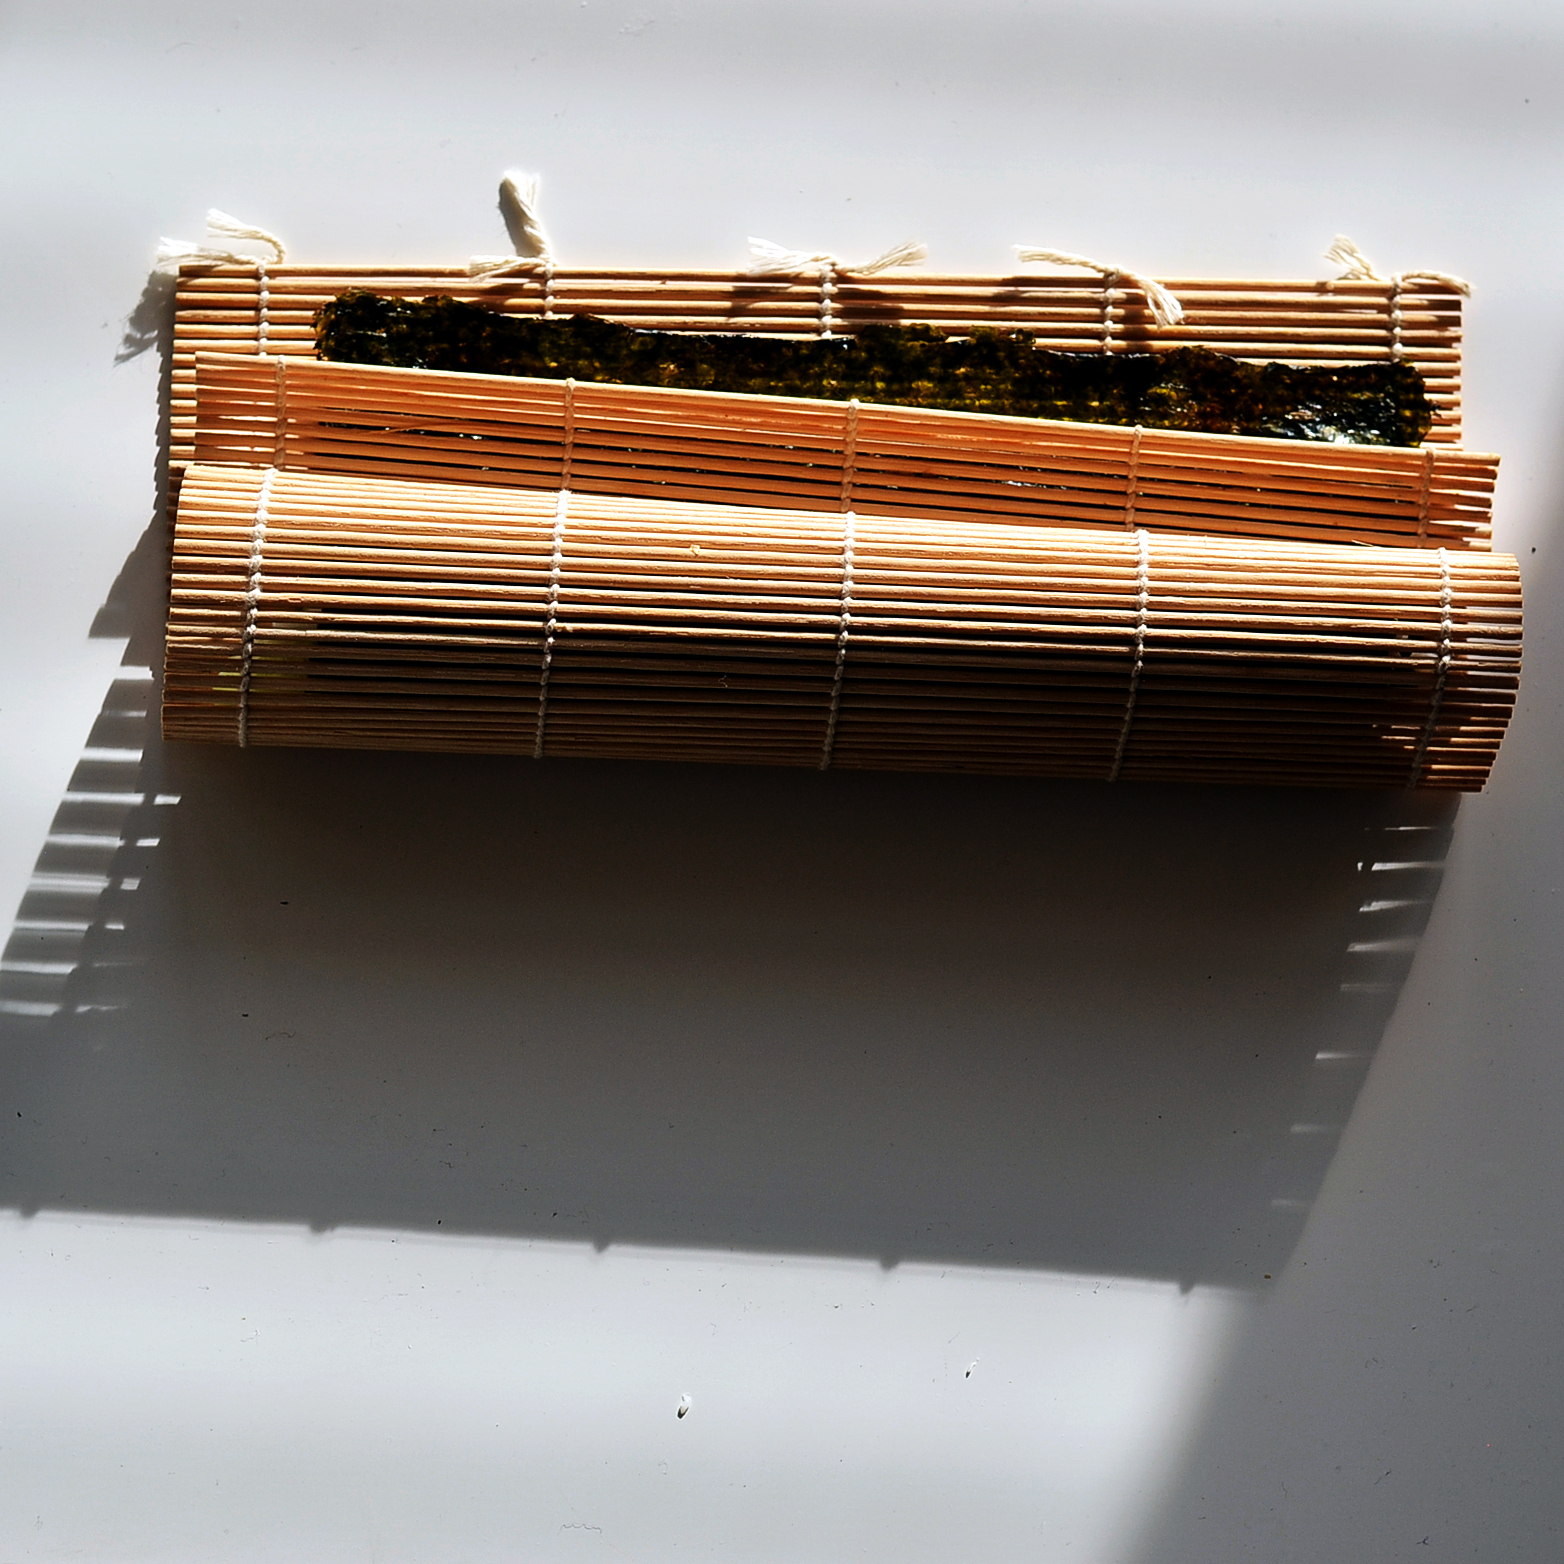
Step 2: As previously: Roll up the sushi & mat with your thumbs and use your fingers to press in the filling. Roll to make a circle and press inwards to make it tight and firm.
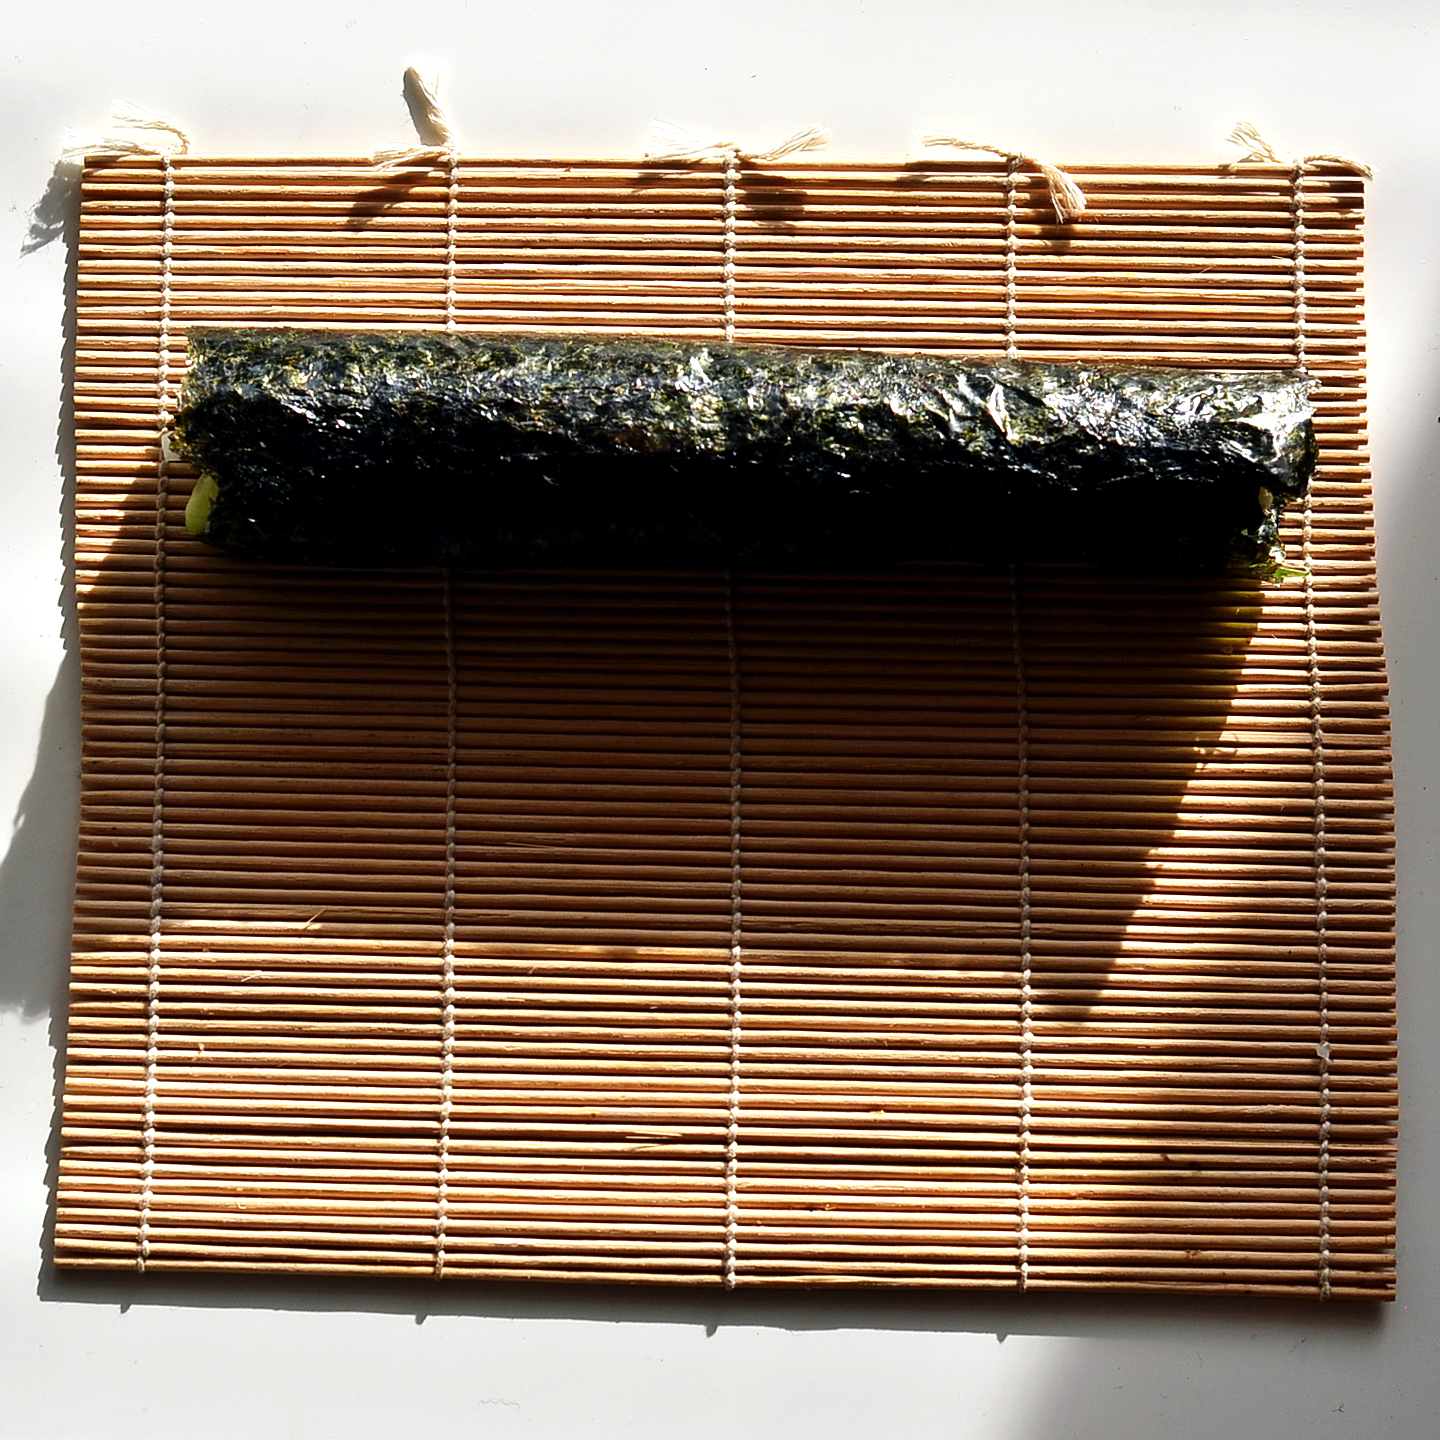
Step 3: Unroll just the mat and use your hands to roll the rest of the seaweed, wetting the end of the nori to help it stick.
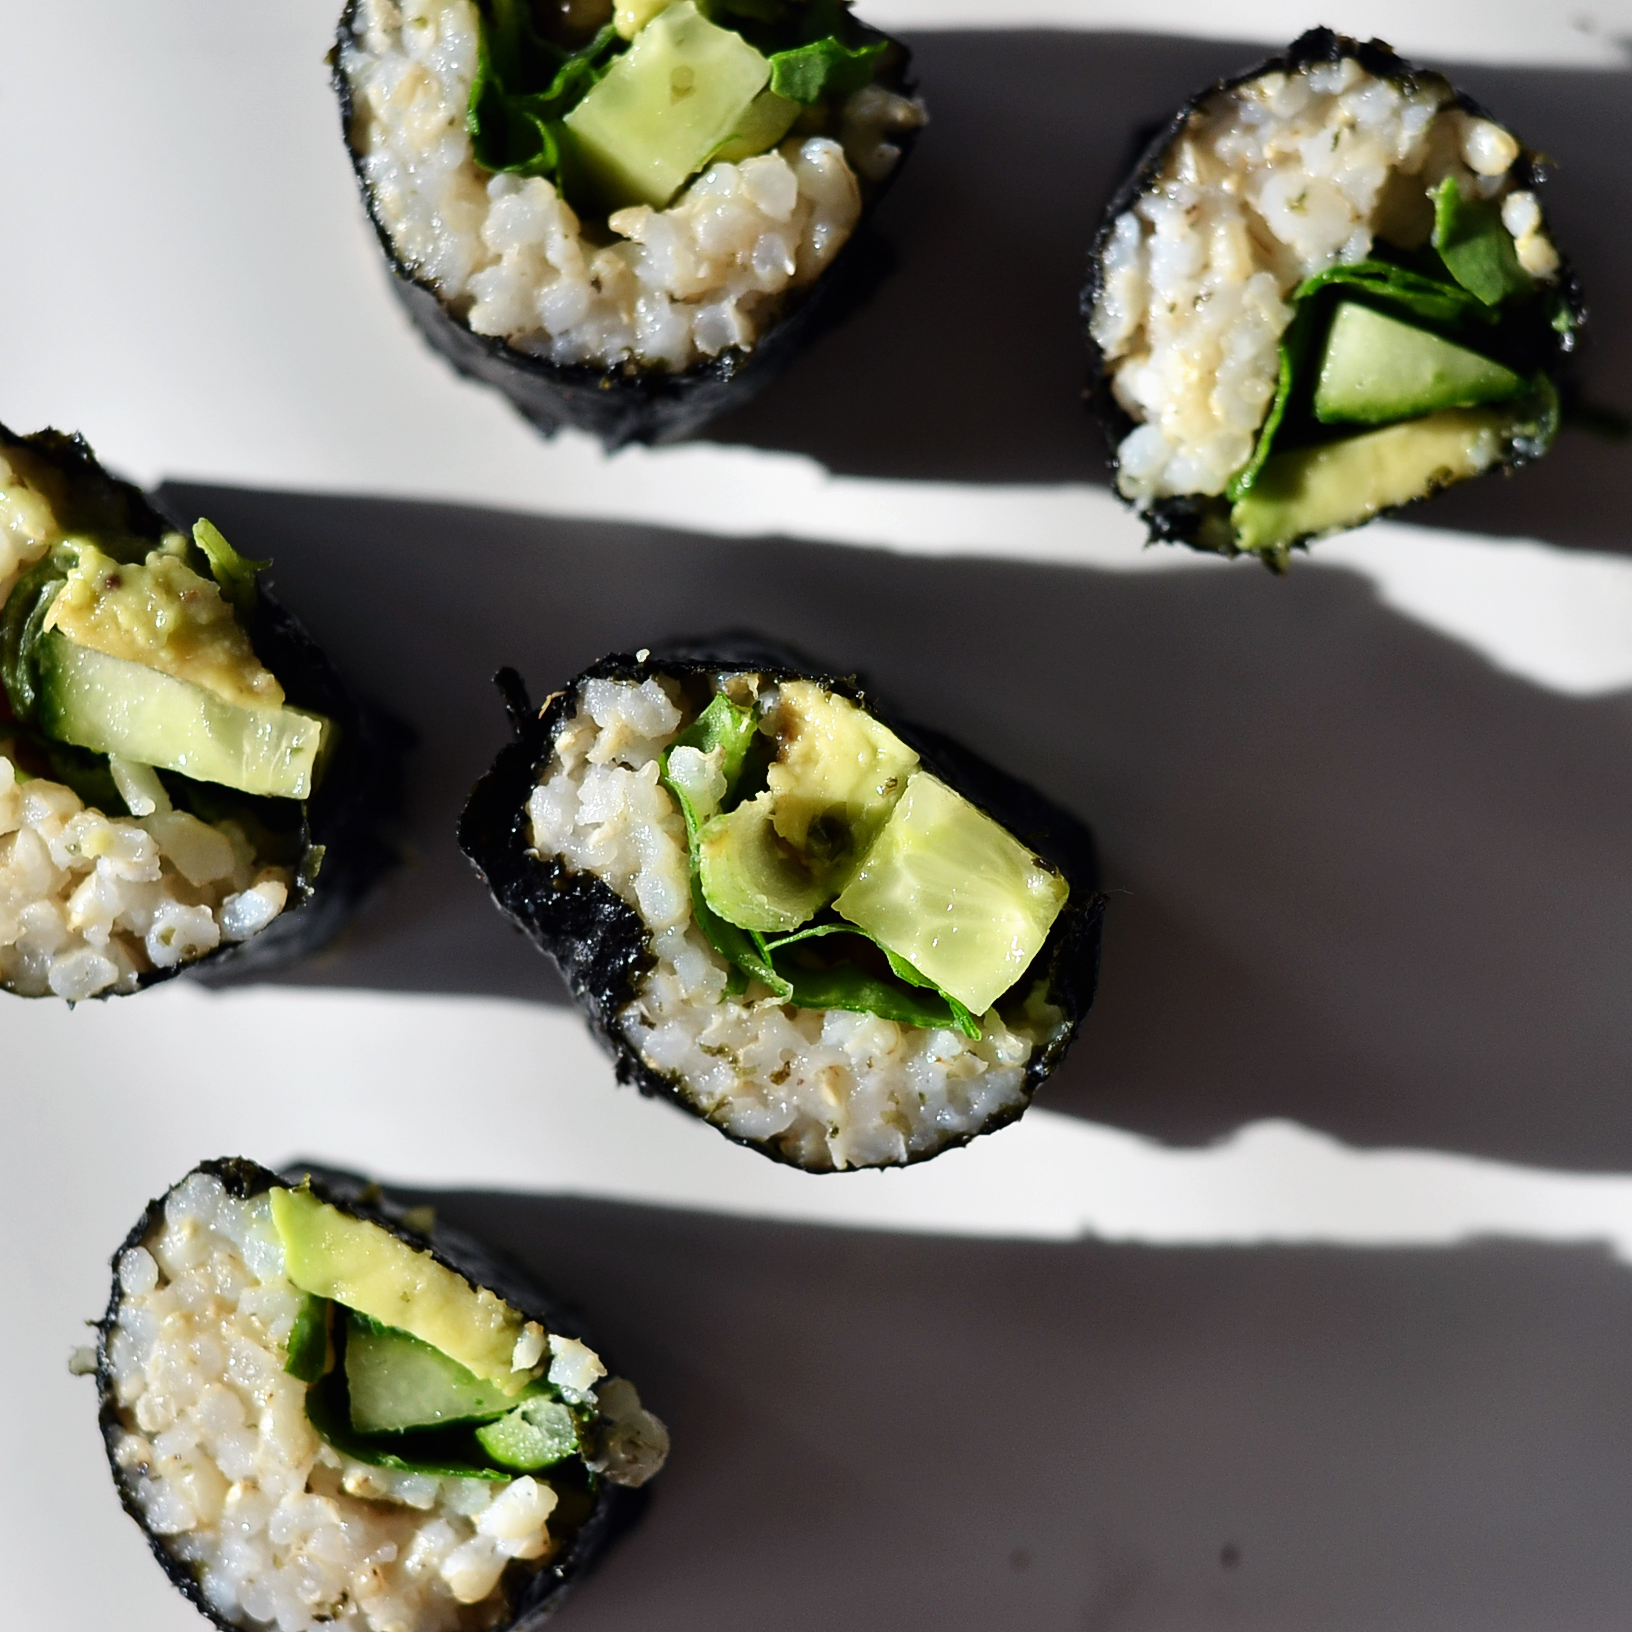
Step 4: Dip your knife into hot water and slice the sushi into bite size slices, cleaning and wetting each cut
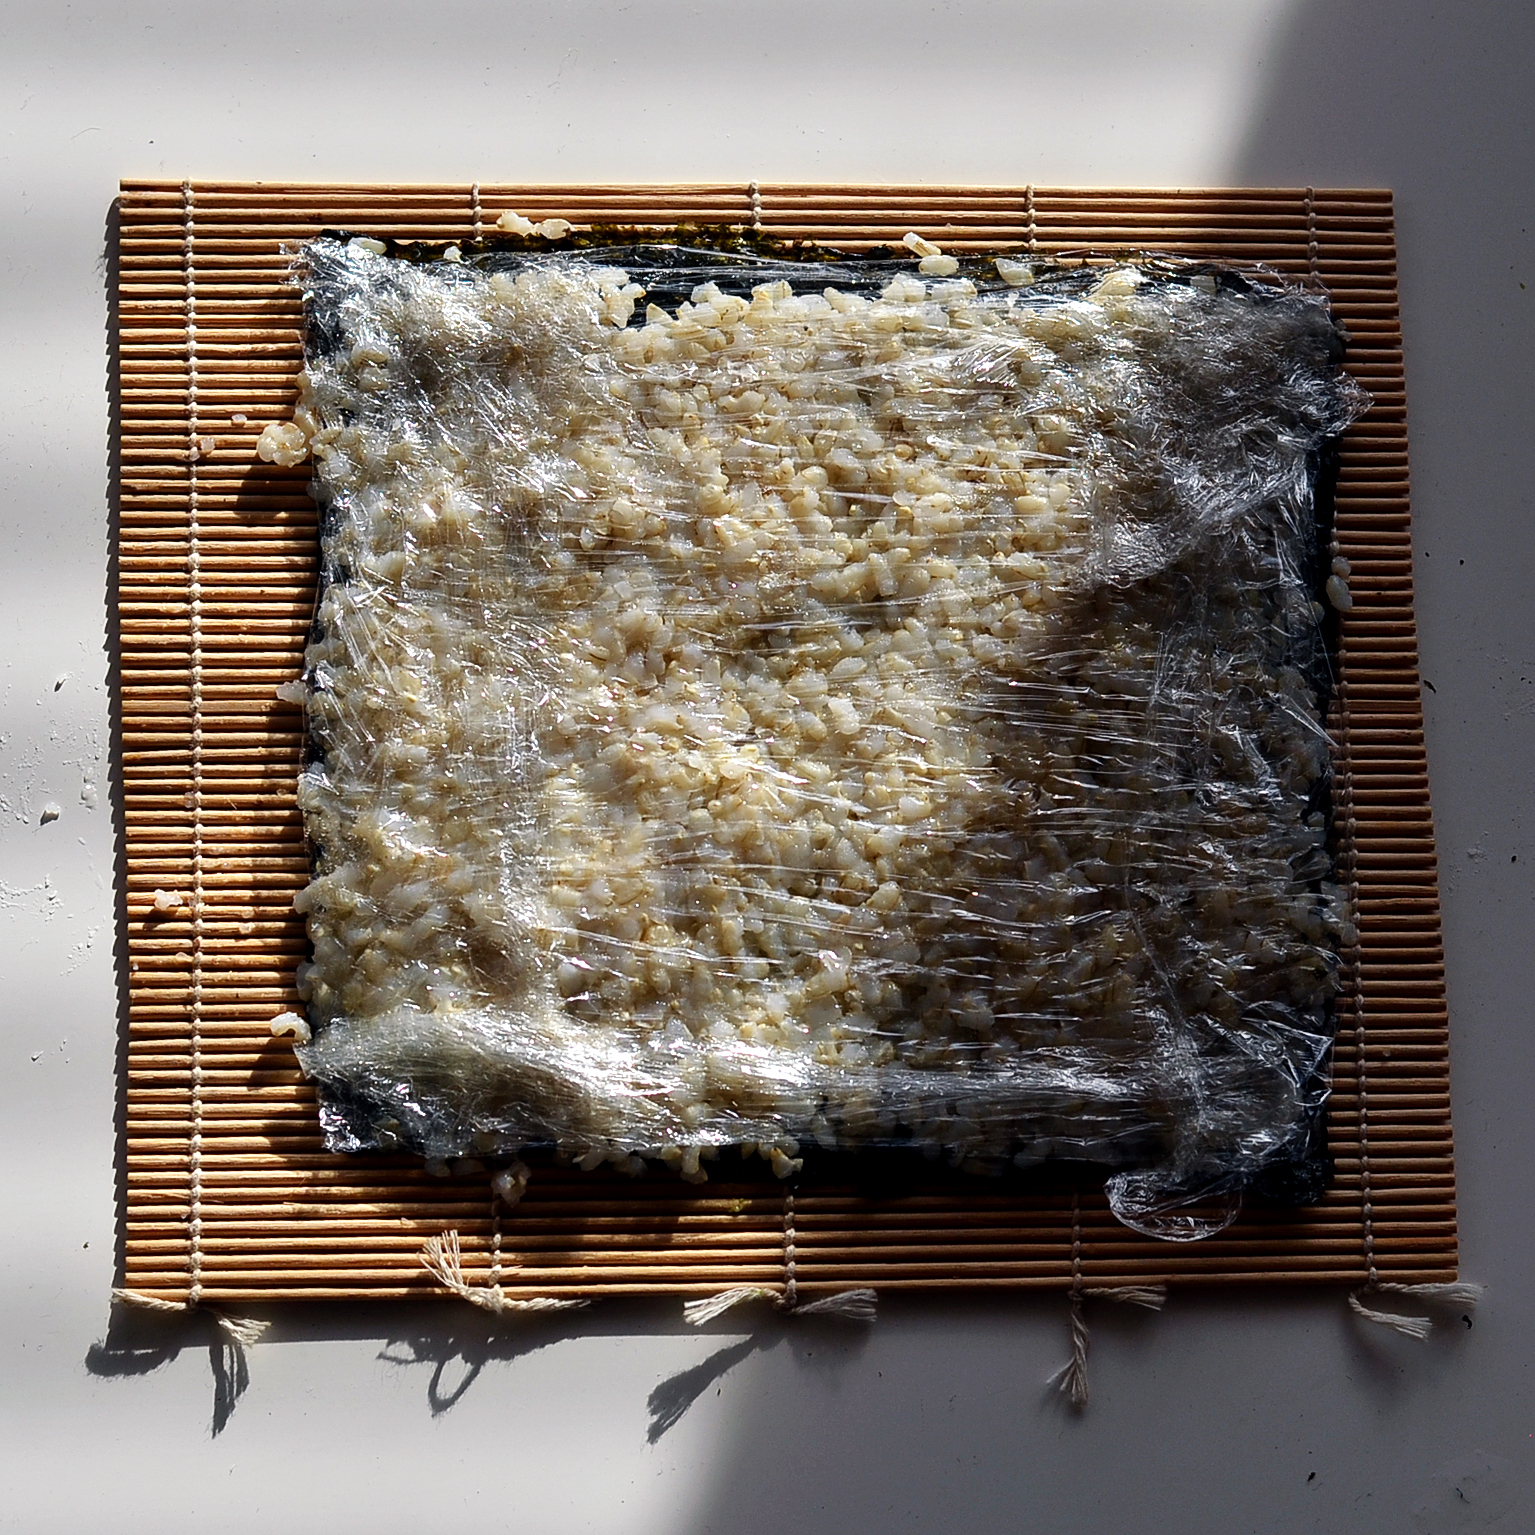
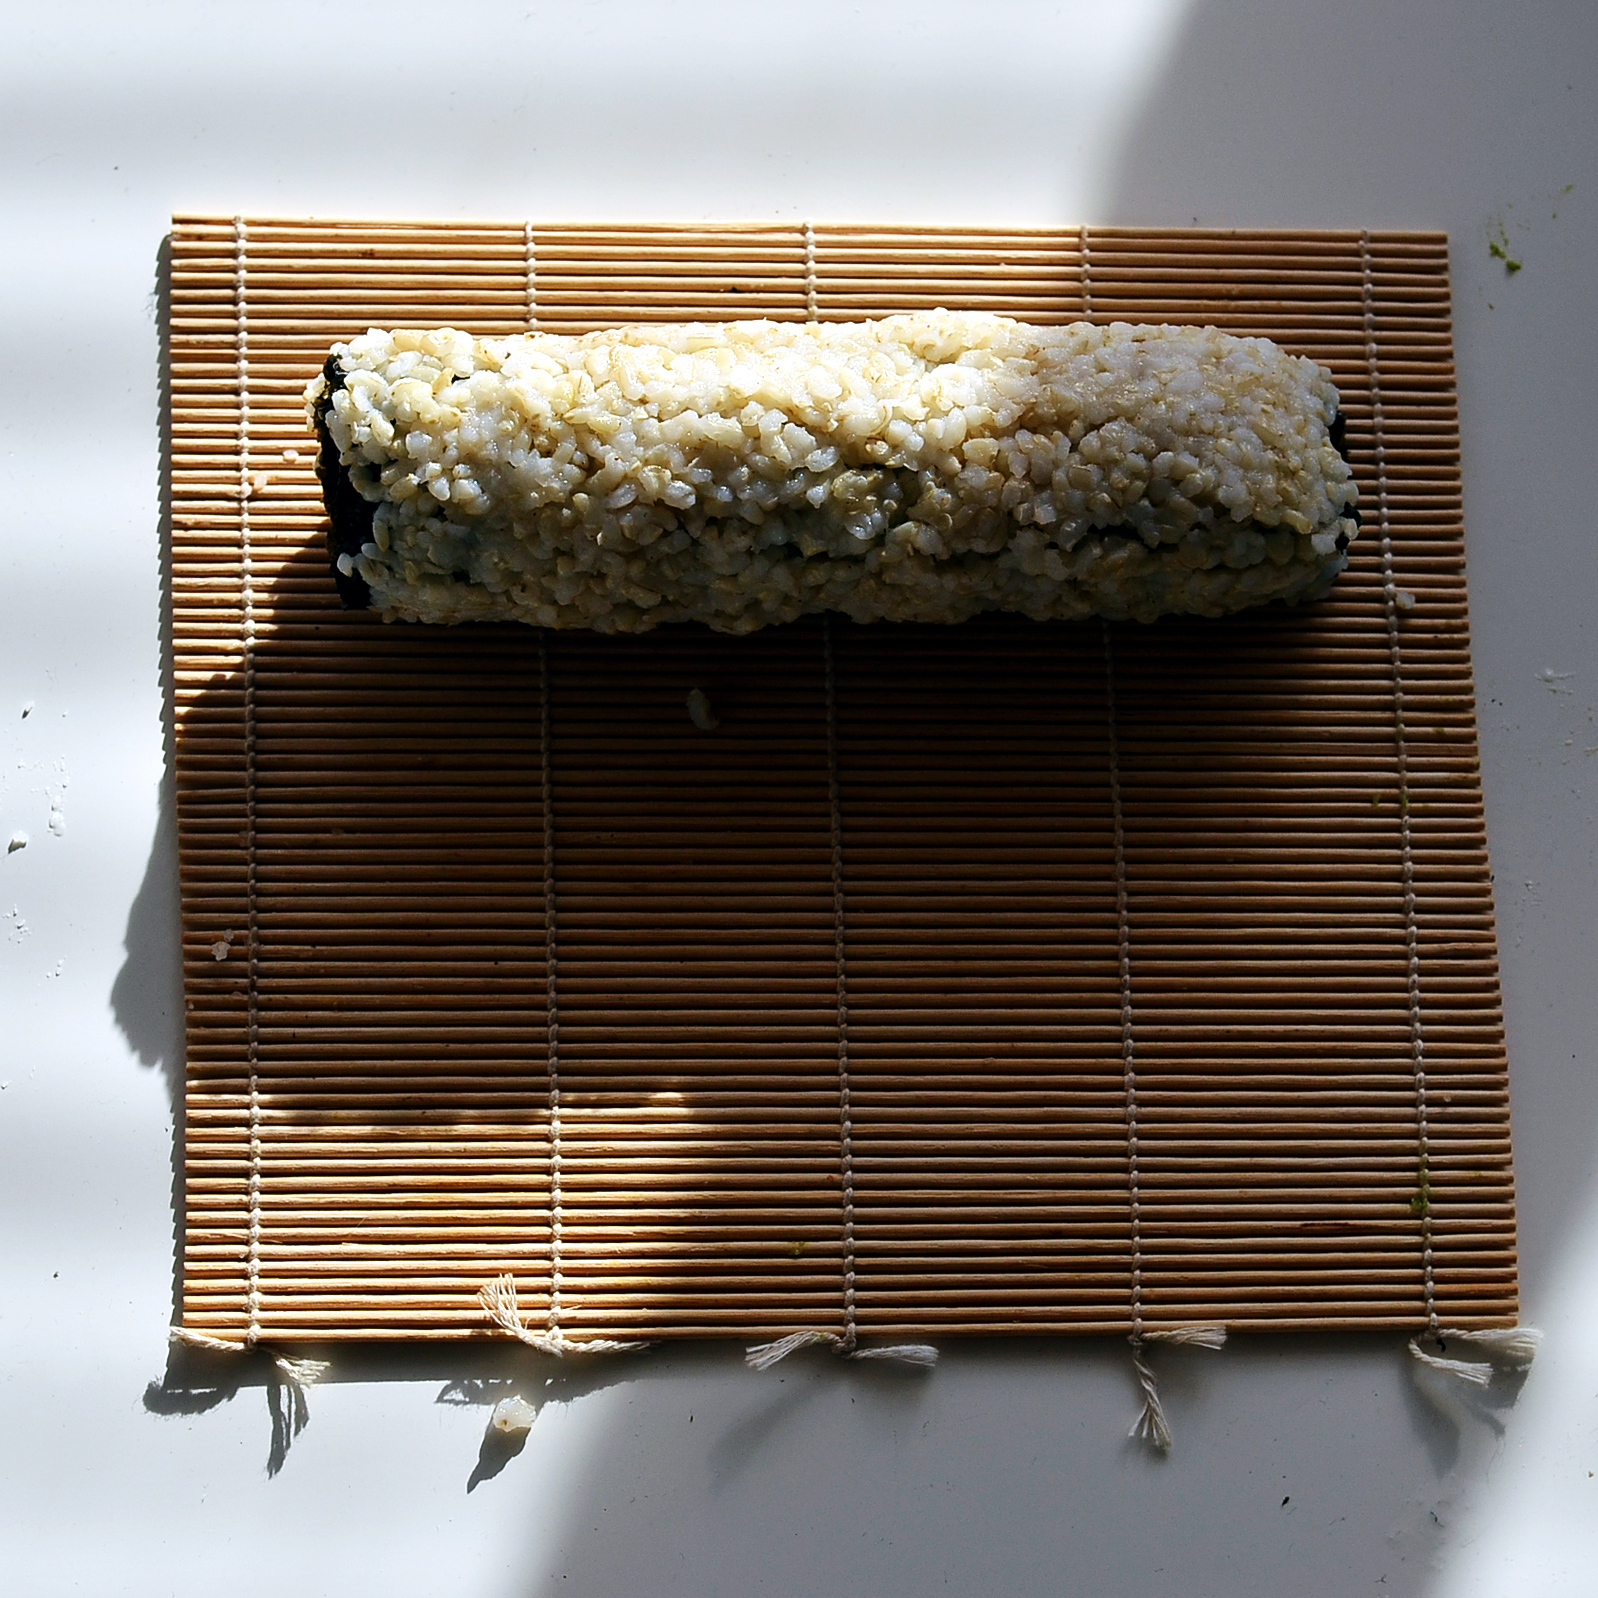
[/df_tabs_item][df_tabs_item header=”Inside out”]Last but not least. This one is a bit more technical, but is quite simple when you try it!
Again same as last time you need your sushi rice is ready, have a bowl of water beside you, a sushi mat, nori sheets, whatever fillings you desire, a sharp knife PLUS some cling film!
Step 1: Wet your hand and spread the sushi rice upon the whole of the nori, leaving a little bit at the edges showing. Then place cling film over the rice.
Step 2: Press down the rice slightly and flip over the nori and the rice. Place your fillings an inch from the bottom.
Step 3: As before, Roll up the sushi & mat with your thumbs and use your fingers to press in the filling. Roll to make a circle and press inwards to make it tight and firm. Then remove the cling film.
Step 4: Unroll just the mat and use your hands to roll the rest of the rice & nori, pressing the end to help stick.
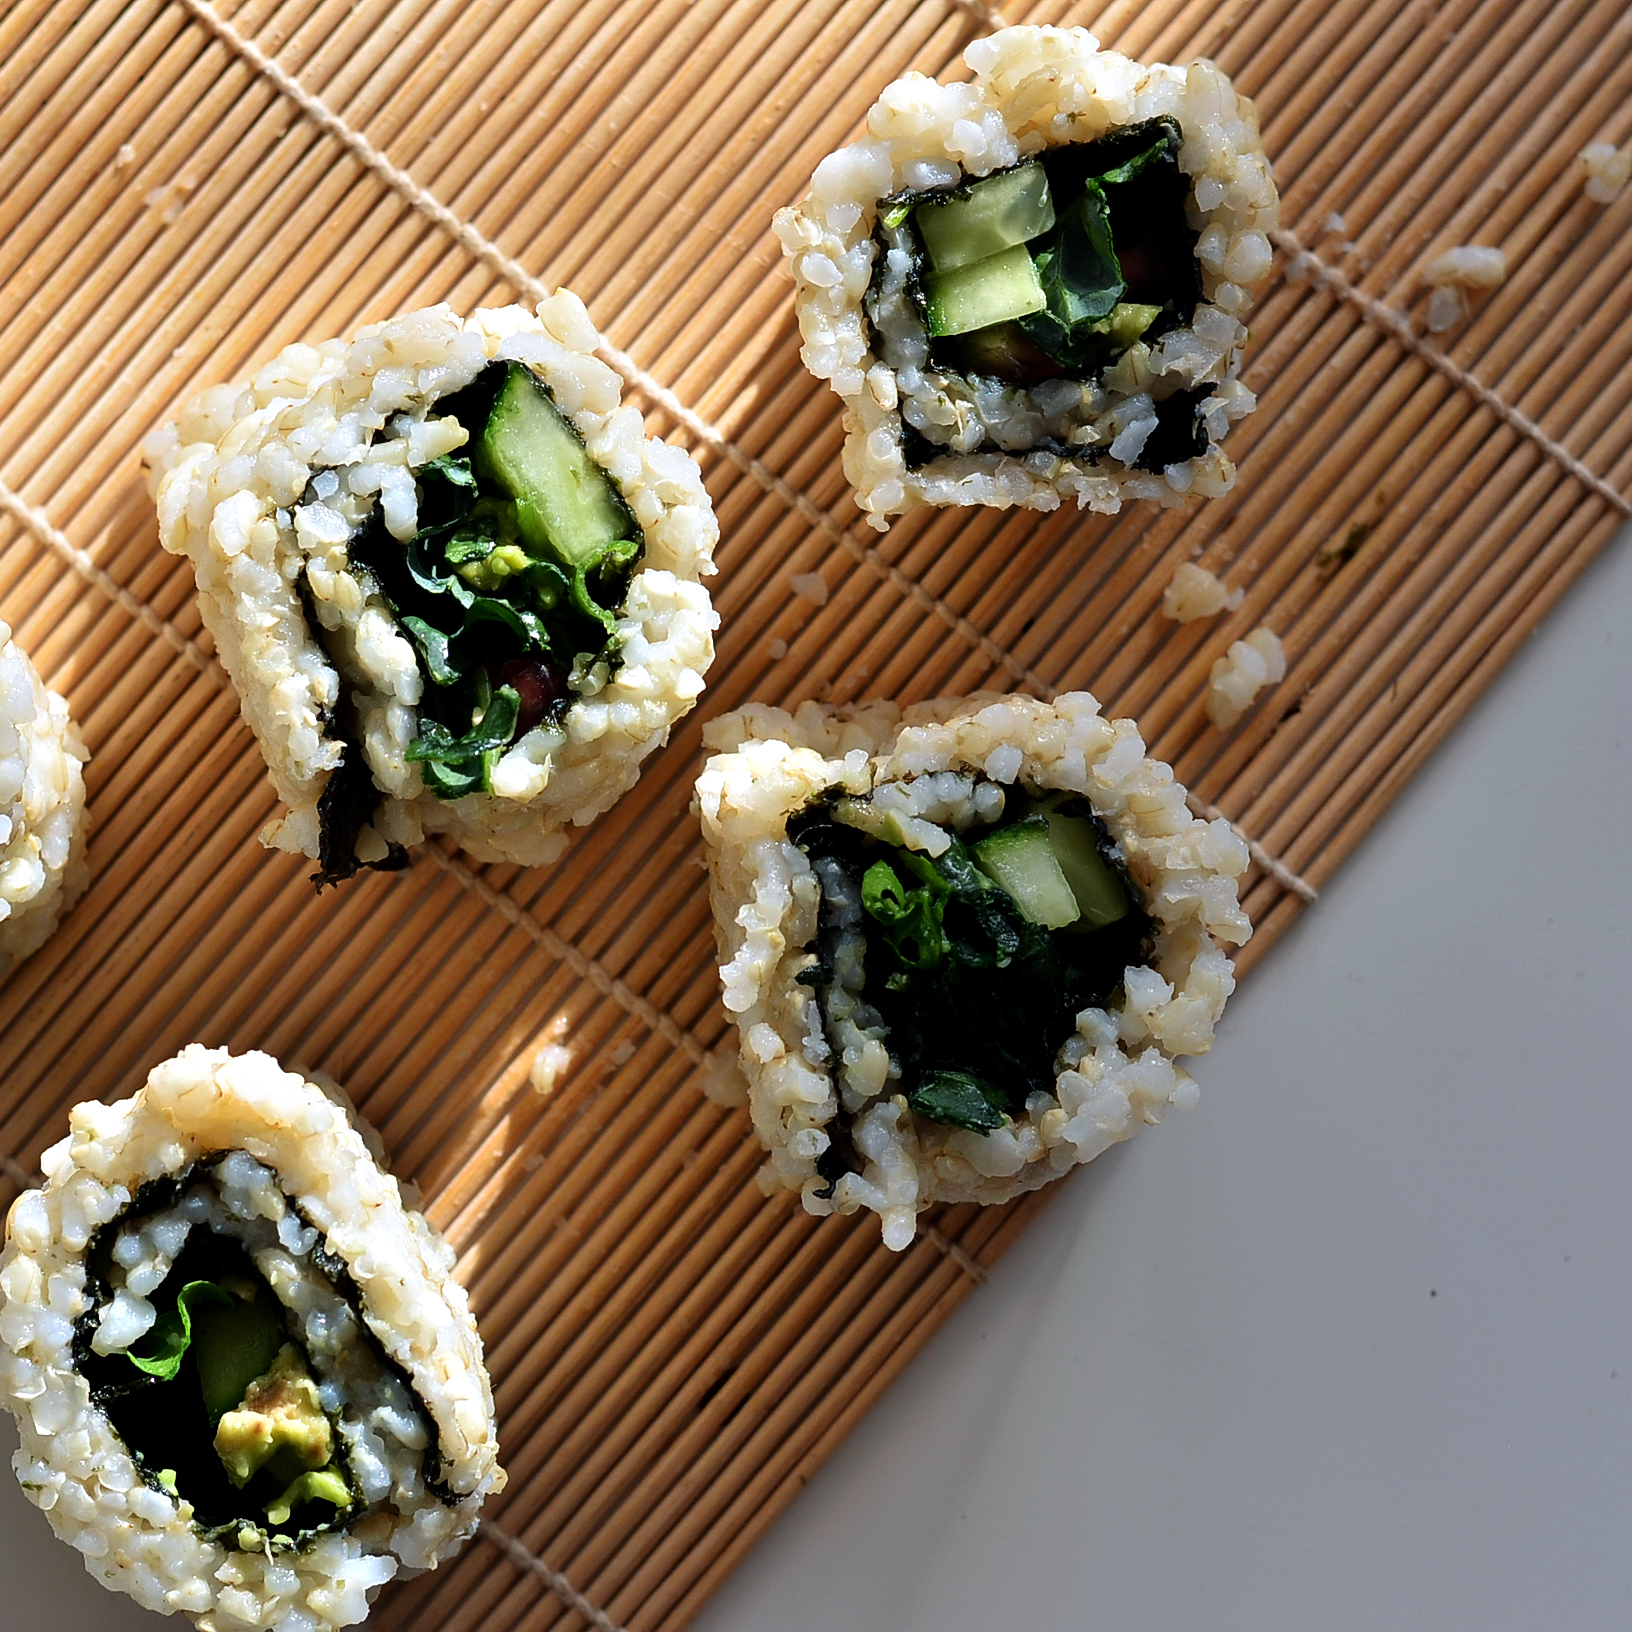
Step 5: Dip your knife into hot water and slice the sushi into bite size slices, cleaning and wetting each cut
[/df_tabs_item][/df_tabs]
Sushi tips!
Make sure you have a super sharp knife to cut through this super tough nori. Always use very hot water and a clean knife when cutting too! If you’re like me and live in house full of blunt knifes, this could be a problem…
Sushi is a perfect make ahead dish that can keep in the fridge for a few days. Sushi is a super tasty, healthy snack for when you’re sticking your nose in the fridge or convenient to prepare in advance for dinner parties!
One Response